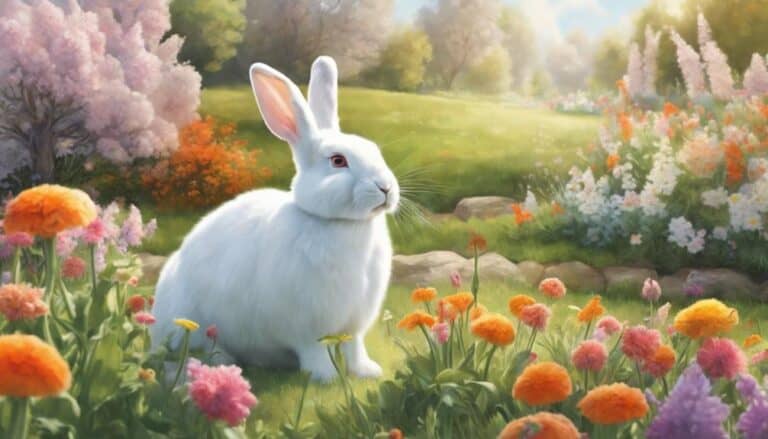
Are you ready to draw adorable Easter bunnies with ease? Let's start by drawing a circle for the head and adding symmetrical ears. Connect the head to the body with gentle curves and don't forget to include a fluffy tail!
Next, sketch out the eyes, nose, and a simple mouth. Adding rosy cheeks will give your bunny a cute touch.
For the final step, create a furry texture using curved lines, the iconic cotton tail, shadows, and playful patterns. Feel free to experiment with different colors to add depth.
Your Easter bunnies are starting to take shape! The more details you add, the more lifelike your bunnies will become!
Contents
Key Takeaways
Hey there! Want to draw some cute Easter bunnies? Here's a simple guide to help you create your own fluffy friends in just three easy steps.
First, start by drawing a circle for the bunny's head. Then, add two symmetrical ears on top and connect them to the head with gentle curves to form the body.
Next, give your bunny some facial features. Draw two big eyes, a tiny nose, and a sweet little mouth to bring your bunny to life.
To make your bunny look extra fluffy, add some fur texture all over its body, a fluffy tail at the back, and some shadows to give it depth.
For the finishing touches, use pastel colors to color your bunny, think about adding some cute accessories like a bow or a basket, and try experimenting with shading to make your bunny pop.
And if you want to take your bunny drawing to the next level, consider adding playful patterns, more shadows, and realistic details to create a lively and adorable bunny masterpiece.
Have fun drawing your Easter bunnies and let your creativity hop away!
Sketching the Basic Bunny Structure

To start drawing Easter bunnies, begin by drawing a circle for the bunny's head. Make sure it's the right size compared to the body. Then, focus on where to place the ears. Draw two long, symmetrical ears on top of the head to give your bunny a cute look. When outlining the body, pay attention to keeping the proportions right. Use gentle curves to connect the head to the body smoothly. This step is crucial for creating a well-balanced bunny figure.
While you continue sketching, think about the texture of the fur. You can show softness by adding subtle lines to represent the bunny's fluffy coat. For the tail, draw a fluffy tail at the back of the bunny. This detail adds a cute touch and completes the basic structure of your Easter bunny drawing. Keep practicing these steps, and you'll soon get the hang of sketching adorable Easter bunnies!
Adding Facial Features and Expression
When you're making your Easter Bunny drawing even better, don't forget to give its face some life by adding in the eyes, nose, mouth, and other features that capture its adorable charm.
Let's start by drawing two eyes using small circles or ovals. Then, add a small triangle or oval below the eyes for the nose to give your bunny a cute and friendly look. For the mouth, just create a simple curve or line to make a smile that matches the overall feel of your drawing.
To give your bunny some rosy cheeks and enhance its charm, lightly shade small circles on each side of its face. You can also try different eyebrow shapes or eyelashes to give your Easter Bunny more personality.
When it comes to choosing colors and shading techniques, you can go for pastel shades or light colors to keep your bunny looking soft and cute. If you want to add a little extra flair, consider giving your bunny some accessories like a bow tie or a basket of Easter eggs to amp up its character.
Play around with these features to bring out the best expression in your Easter Bunny illustration.
Final Touches and Details

Now let's make your Easter Bunny drawing even better by adding some special details. First, create a fluffy fur texture by drawing lots of small, curved lines all over the bunny. This will give it a soft and realistic look, making it even more cuddly.
Don't forget to draw the iconic cotton tail at the back of the bunny. Simply draw a small circle to represent the fluffy tail, adding that classic charm to your Easter Bunny. Adding shadows under the bunny and tail will make it look more three-dimensional and grounded in the scene.
You can also add some patterns or designs to the bunny's accessories like a bow tie or a basket of eggs for a personal touch. And using different shades of color to highlight certain areas will add depth to your drawing. These final touches will really bring your Easter Bunny drawing to life!
Frequently Asked Questions
How Do You Draw a Easy Easter Bunny?
Drawing an easy Easter bunny is simple! First, draw a big oval shape for the body and a small circle for the head. Next, add long floppy ears to make it look like a bunny. Don't forget to give it a cute face with eyes, a nose, and a mouth.
After that, draw the bunny's paws at the bottom of the oval. You can make them look like little circles for the feet. Finally, add a fluffy tail at the back of the bunny to complete the look. Remember to keep your lines light to give the bunny a furry texture.
And there you have it – an easy Easter bunny drawing that's perfect for the holiday season!
How Do You Draw a Cute Rabbit Easy?
Drawing a cute rabbit is simple! First, draw a big oval for the body and add two small ovals for the feet. Then, make a circle for the tail and draw long ears with simple facial features. Have fun doodling your bunny!
How Do You Draw a Simple Realistic Bunny?
If you want to draw a simple realistic bunny, start by looking at how bunnies are built. Draw the body, head, and ears in the right sizes. Then, give your bunny eyes, a nose, a mouth, whiskers, and fur details to make it more lifelike. Use shading techniques to add depth to your drawing. With practice, you'll soon get the hang of drawing realistic bunnies.
How Do You Draw a Simple Easter Chick?
If you want to draw a simple Easter chick, begin by drawing a small oval for the body. Then, add a triangle for the beak and little dots for the eyes. You can sketch in some stubby wings and small feet to give your chick some character. Finish off by adding some feather lines for a cute touch.
Now, you're all set to enjoy decorating eggs and crafting Easter baskets! Have fun getting creative and celebrating the holiday season.
Conclusion
Now that you've learned how to draw Easter bunnies in 3 easy steps, feel free to get creative and add your own personal touch to each drawing. Remember, the more you practice, the better you'll get, so keep at it and you'll notice improvement with every bunny you draw.
Take Sarah, for example. She's just 10 years old and she followed these steps to surprise her family with adorable Easter bunny drawings. Keep believing in yourself and your artistic abilities, and happy drawing!